Article Content
Overview
Compliance Officers can filter the information that appear on a report by applying filters to a report.
Report Filters
The Filters icon will appear if configured by an Administrator.
- Click the Filter icon in the Toolbar at the top of the screen.
![]()
Filter Icon
- From the Filter pop-up, apply any of the following filters to narrow the data that appears on the report:
- State: Allows users to filter the table data by object workflow states (e.g., Creation, Draft, Active, and Archived).
- Role: Allows users to filter the table data by user roles granted direct access to objects from the report's data definition.
- Date & Time: Allows users to filter the table data by date and time values. If the field is configured to collect the date and time, the report is filtered based on the current user's time zone.
- Select List: Allows a user to filter table data by select list values (e.g., Low, Medium, High).
- Formula: Allows a user to filter table data by formula labels.
- Relationship/Reference: Allows a user to filter table data by one or more object type relationship or references. For example, selecting the Risk 1 object type in this filter will also display all the Control objects that Risk 1 appears on through a relationship.
- Object Type: Allow a user to filter table data by object type.
Note:
Sections may be blank if these filter types have not been added to the report by an administrator.

Filter Pop-up
- Click the Apply Filter button to apply any selected filters to the table data.
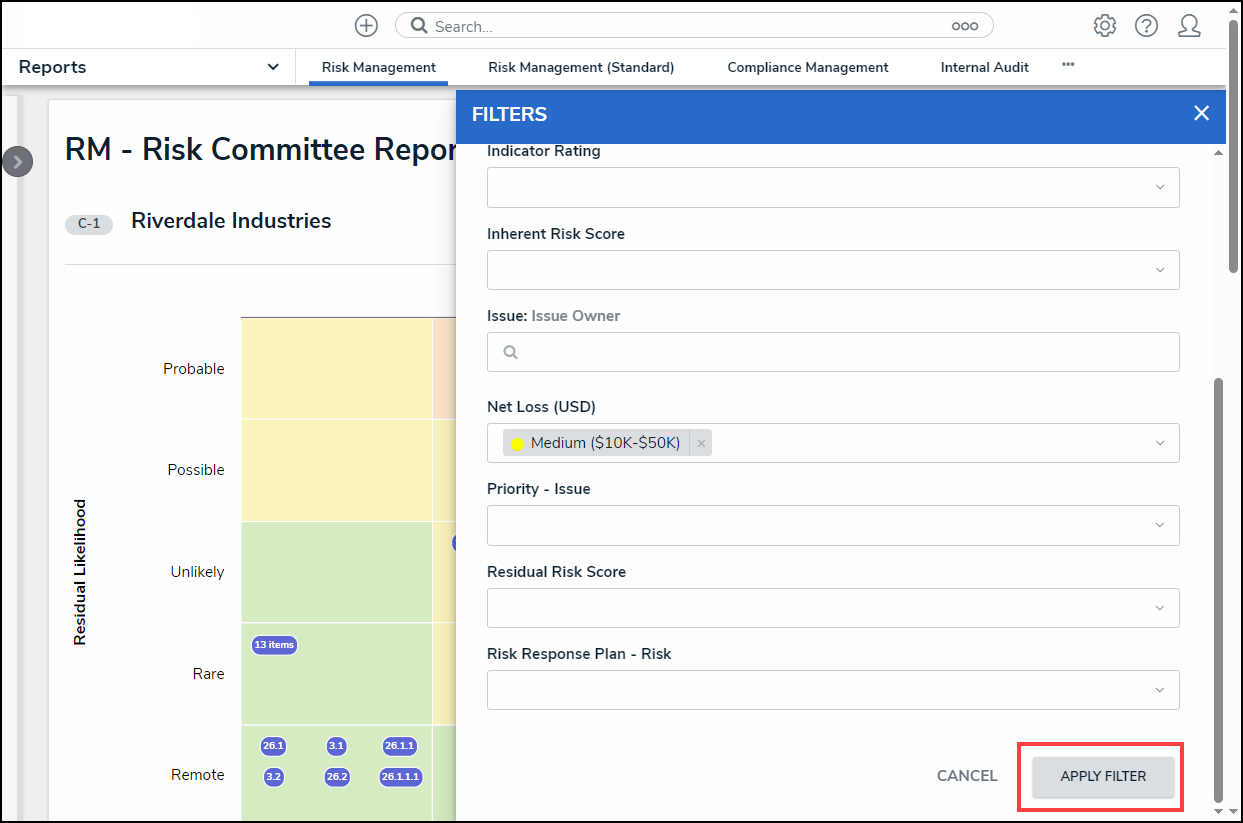
Apply Filter Button
- The Filter icon will appear blue, indicating that there are filters applied to the table data.
![]()
Filter Icon
- Click the x beside a filter to remove the filter. If the filter is date-based, select the field and use the Delete or Backspace key to delete the dates from the fields.
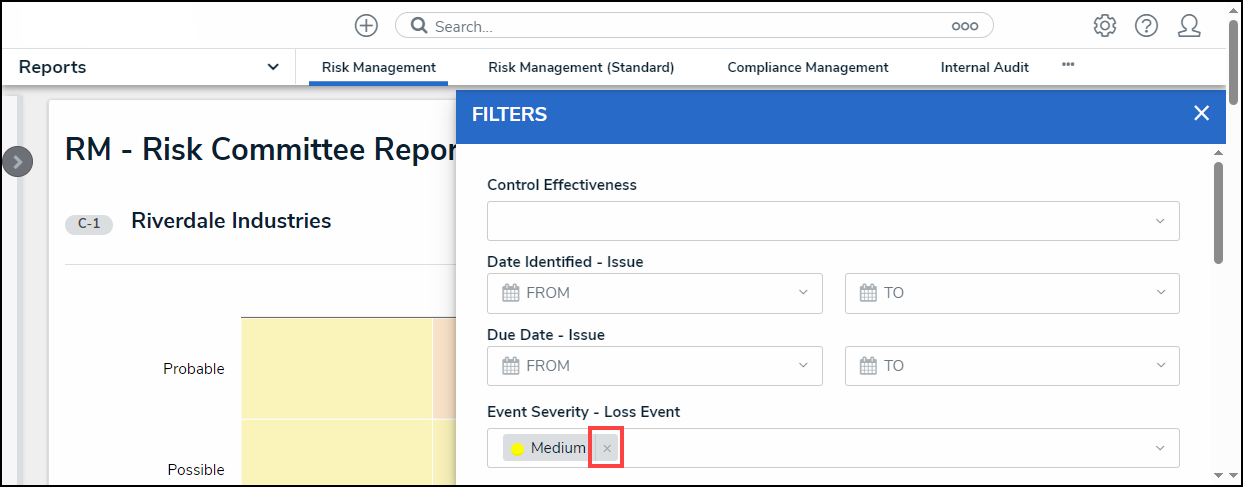
Removing a Filter
- Click Apply Filter to save your changes.